
This post will be very helpful for “How” we planted our wildflowers to get such a great stand of color. It’s not as difficult as some would have you believe.
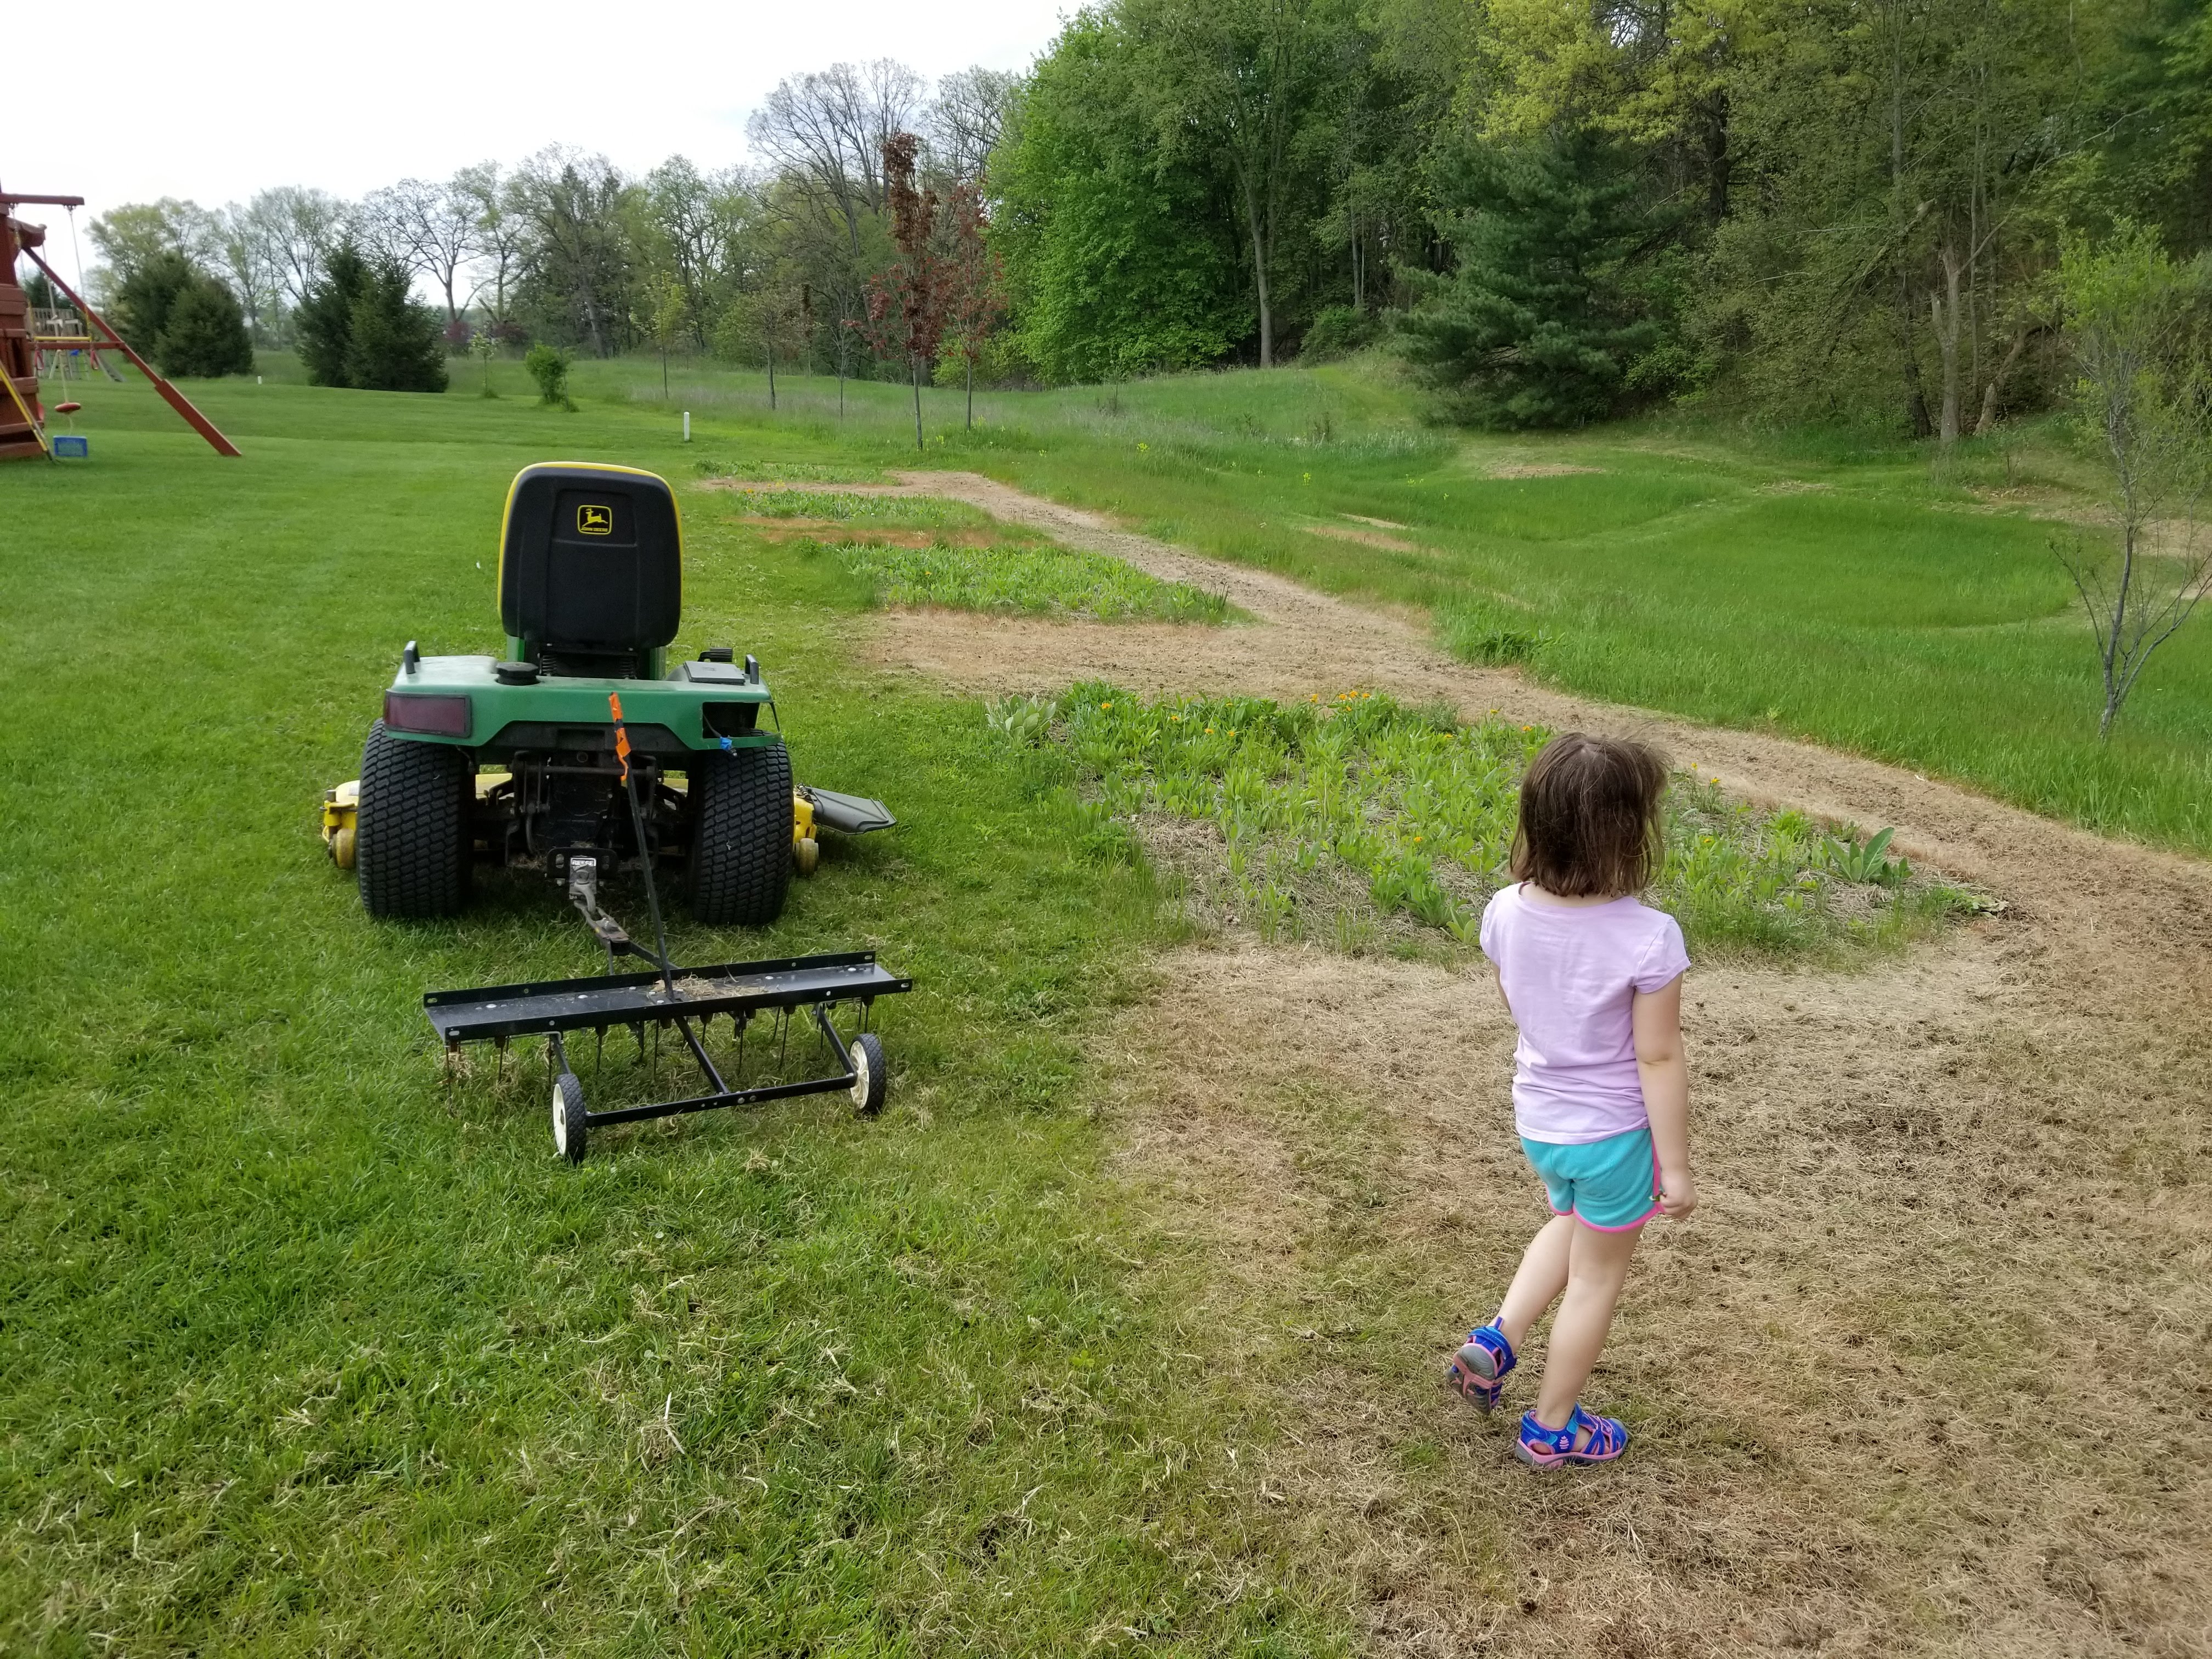
Above you see my 2 secret helpers. A motivated child and a garden tractor with a dethatching rake. In 2018, I used a manual garden rake to scratch up the surface of the ares of killed grass. Since I was planting a larger area in 2019, I decided I wanted to try a larger tool, too. So I put my detatching rake behind my mower and made 3-5 passes over each new area to scratch the surface, allowing the possibility of soil to seed contact. Now, it’s time for some seeds

The seeds harvested from 2018 were simply hand pulled/cut and placed into this paper grocery bag. I learned to store seeds in open paper bags early on to avoid mold/rot forming before the seeds have a chance to dry. These seeds just stayed in my unheated garage in this bag through winter. They dried effectively in the cold, dry air. Now it’s time to separate the seeds from the heads. If you’re saving your own seeds, you don’t have to be fancy here. I find that rubbing them over a wire mesh does a decent job of separating. No need to try to winnow the seeds or really clean them up. All of the petals and chaff are just going to be re-broadcast onto the ground when seeding. Plus, it’s really hard to see where the seeds go if you only have pure seed. I add sand and/or sawdust to my seeds to make it easy to see where I have already planted.

Seeds will start to look like this after the initial threshing. I continue to manually work the large seedheads until there are only small pieces that easily pass through the mesh. You might notice that this is a HUGE quantity of seeds compared to what you might buy in a seed packet. Saving your own seeds can be very cost effective.

Once the seeds are mostly separated, I mix with sand and sawdust to make it easy to broadcast. I find it is simplest to just throw this seed mixture by hand, although I have tried other broadcast spreaders, too.

After spreading the seed, there is one VERY IMPORTANT step you should not skip. Press the seed into the ground to ensure soil to seed contact! Most of these seeds do not need to be buried, but many require sunlight to germinate. However, they all require soil contact. There are many ways to do this, but I chose to continually drive over the area with my lawn mower. The large turf tires do a great job of pushing the seeds down to the soil. Other methods would be a roller, boards, or similar way to compress the seed down. DON’T SKIP THIS STEP!